Brioche Style Enriched Bread
Mis en place:
2 tbsp, 26g sugar (up to 4 tbsp, 52g, depending on use)
2 large eggs (104g)
1 pkt, 1/4oz, 7g active dry yeast
1 cup, 259g whole milk
250g Bread Flour
355g AP Flour
2 tsp, 8g kosher salt (I used diamond crystal)
6 tbsp, 85g butter (I used salted), room temperature
Procedure:
In a measuring cup, stir the eggs and sugar into the liquid and warm it to 100-110F.
Stir the yeast into the water and let rest for 5 minutes to bloom and get foamy.
Add the salt to the flours to the bowl of the stand mixer.
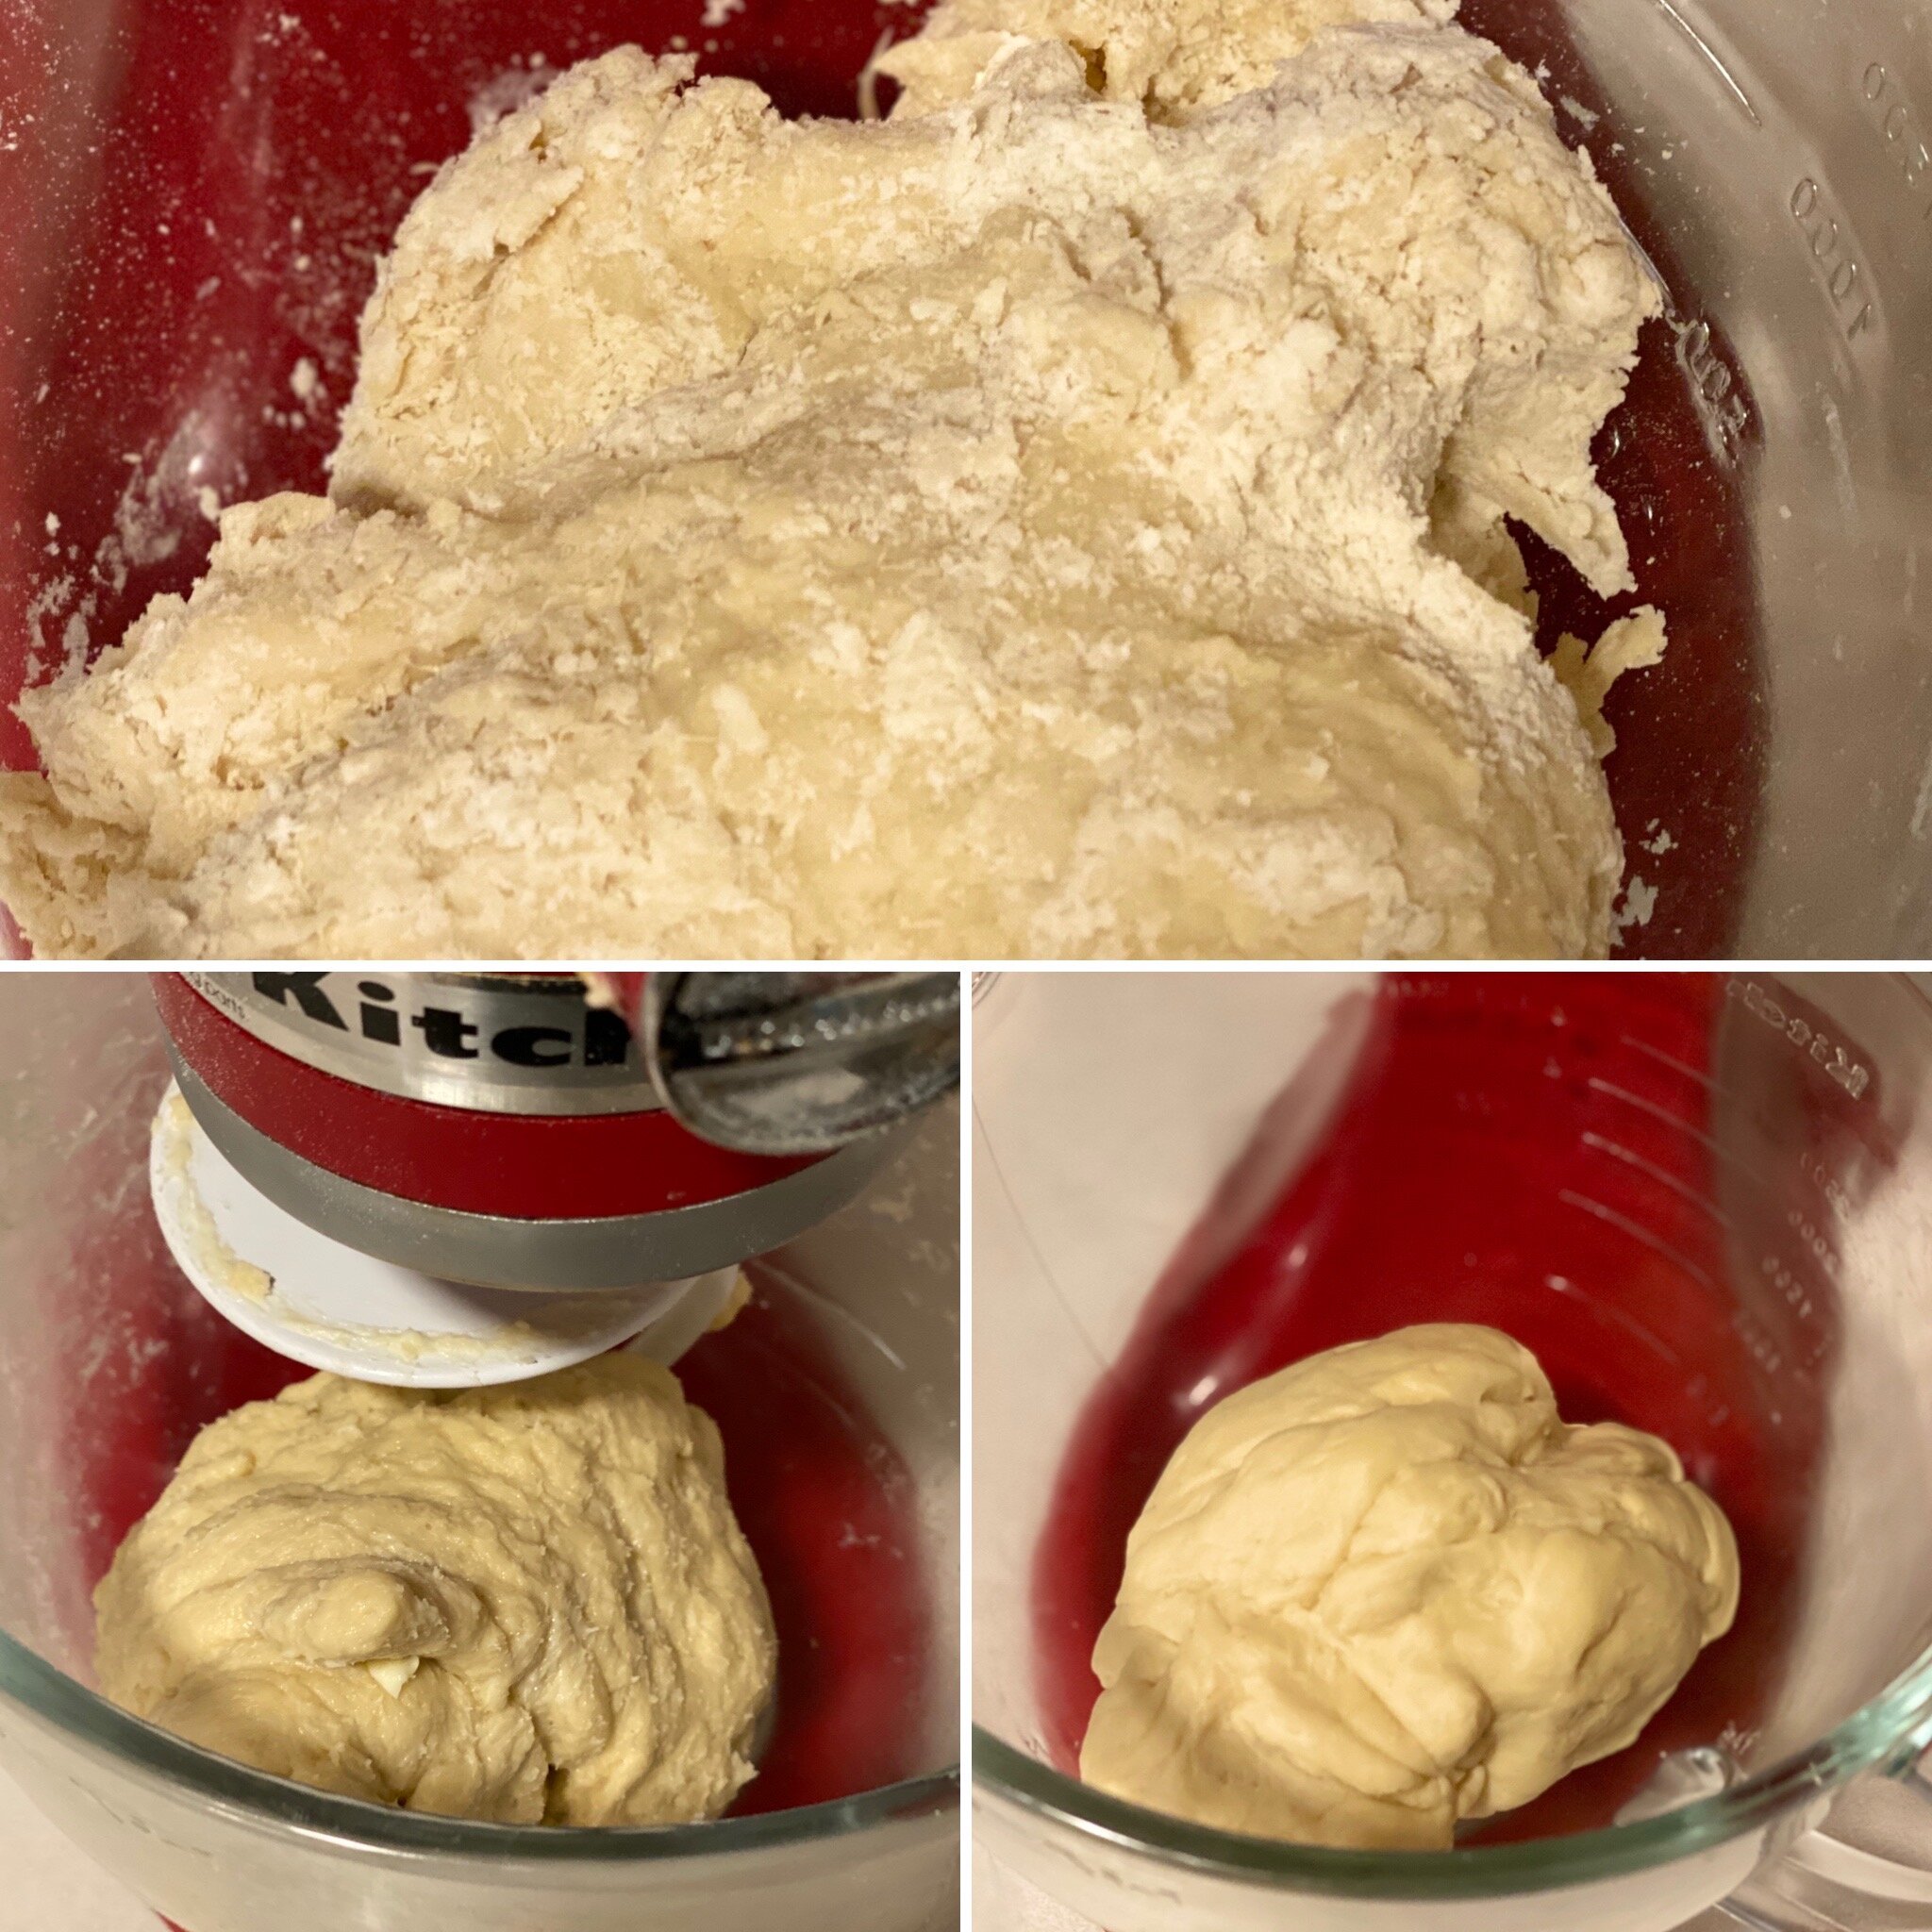
Add the liquid and yeast and, using the dough hook, mix on medium to medium high until the dough mostly comes together, scraping down the bowl 2 or 3 times.
The dough should look like this after an hour to an hour and-a-half in a warm area. . .
Or overnight and up to 24 hours in the fridge.
When the liquid is mostly intgrated but the dough is shaggy, as pictured, DO NOT ADD MORE LIQUID. First. . .
Add the butter in bit-by-bit. There is a decent amount of water in butter and it will help to finish hydrating the flour. Run the machine on medium until all the butter is absorbed, then set a timer and knead on medium-high for 8 minutes.
I help my machine out by holding the mixing head in place while the kneading process to reduce the jumping around.
A good rule of thumb for doughs seems to be that they look awful until they don’t. Trust is an unwritten ingredient, so let it go and run its course. Stay close by and feed the dough back down into the bowl when it climbs up the side. Just stop the machine and push everything back down into the bottom of the bowl and restart the machine.
After machine kneading for 8 minutes, the dough will transform and be smooth and soft to the touch without being sticky or tacky at all. It will naturally absorb all the butter and clean the sides of the bowl as it finishes the kneading.
Turn the dough out onto a dry counter top, no flour or oil, and roll and turn the dough under itself while tightening the surface of the ball and making it very very smooth. Your goal in this is to stretch the surface of the dough smooth and tight, as pictured. To do this, scoop up the dough with both hands, palms up, and use the slight tackiness between the dough the heels of the hands to turn the dough in a clockwise motion while pushing the heels of your hands towards each other. This movement smooths the surface of the dough, pushes everything towards the bottom center, and seals it off so that you have closed ball. Feel free to pinch the bottom closed if it isn’t completely sealed when finished.
Set the dough aside in a large bowl or the bowl of the stand mixer, cover with plastic wrap and allow to rise if using right away, otherwise, bag and refrigerate or freeze immediately.
The longer you can drag out the rise of the dough, the deeper and more complex the flavor of the final product. For a slower rise, you can refrigerate the dough in the covered bowl of the stand mixer and let rise for up to 24 hours before portioning and allowing to rise a second time before baking.
Chilled dough should come to room temp and proof (rise) again before baking. This will take longer than the first rise, around 2 hrs, but it is worth the wait.


